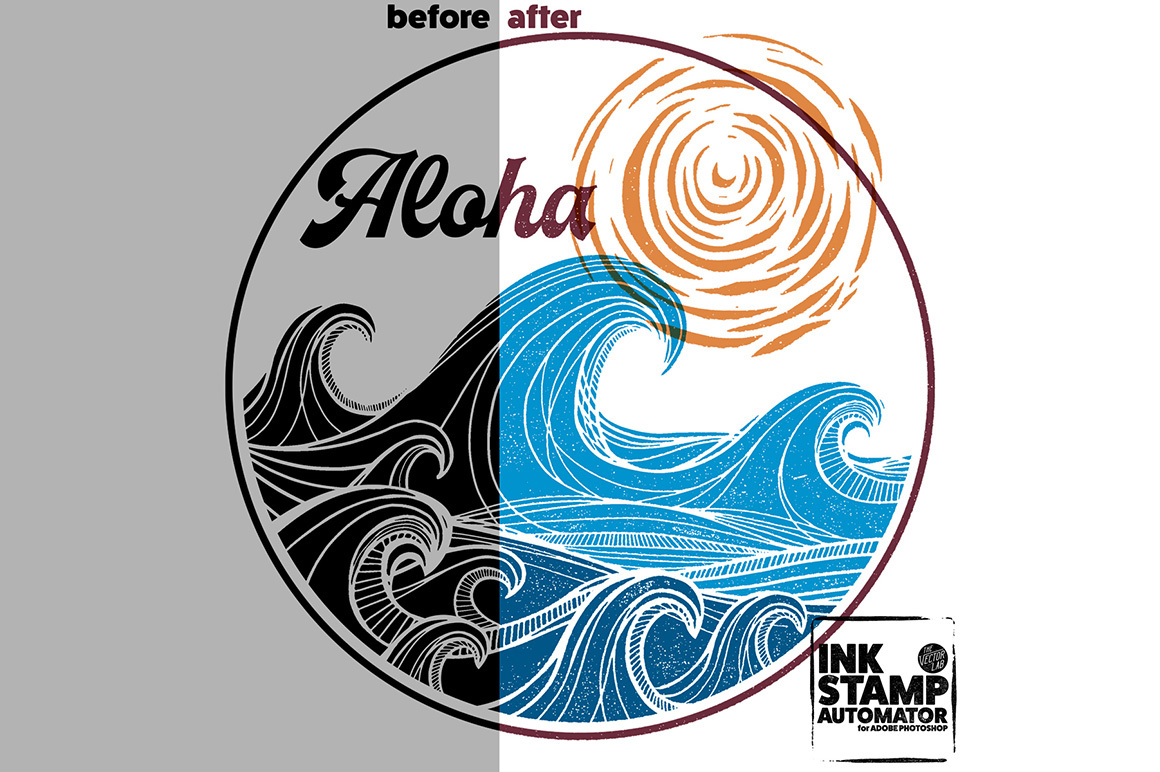
Recently, I created a new texture template for Photoshop to save time applying texture to logos, lettering, and t-shirt designs. It's something I've been using in my own freelance design work. And it’s a big time saver.
This new template is called the Ink Stamp Automator.
This template allows you to apply an instant Ink Stamp (or woodblock / linocut print) look to your designs in Photoshop.
Even if you aren't specifically looking for an ink stamp look, it's a great way to add some interest and texture to your designs.
Go here to see some examples of what you can do:
How Ink Stamp Automator Works:
1) Just paste in your Pixel or Vector design to the designated Smart Object layer.
2) Choose from 42 different ink stamp textures, then you are done!
What's included:
The Ink Stamp Automator Photoshop PSD template (4000 x 4000 pixels). 42 built in textures.
Quick Start Guide PDF instructions.
9 Ink Stamp Shapes. These are ink stamp circles, squares, and rectangles that will help you create logo shapes (see video).
42 stand alone ink stamp textures in LAYERED TIFF format (4000 x 4000 pixels). Perfect for power users who want to dig in and fine-tune the textures.
42 stand alone ink stamp textures in BITMAP TIFF format (12,000 x 12,000 pixels). These are great for designers who want to use the textures in Adobe Illustrator.


