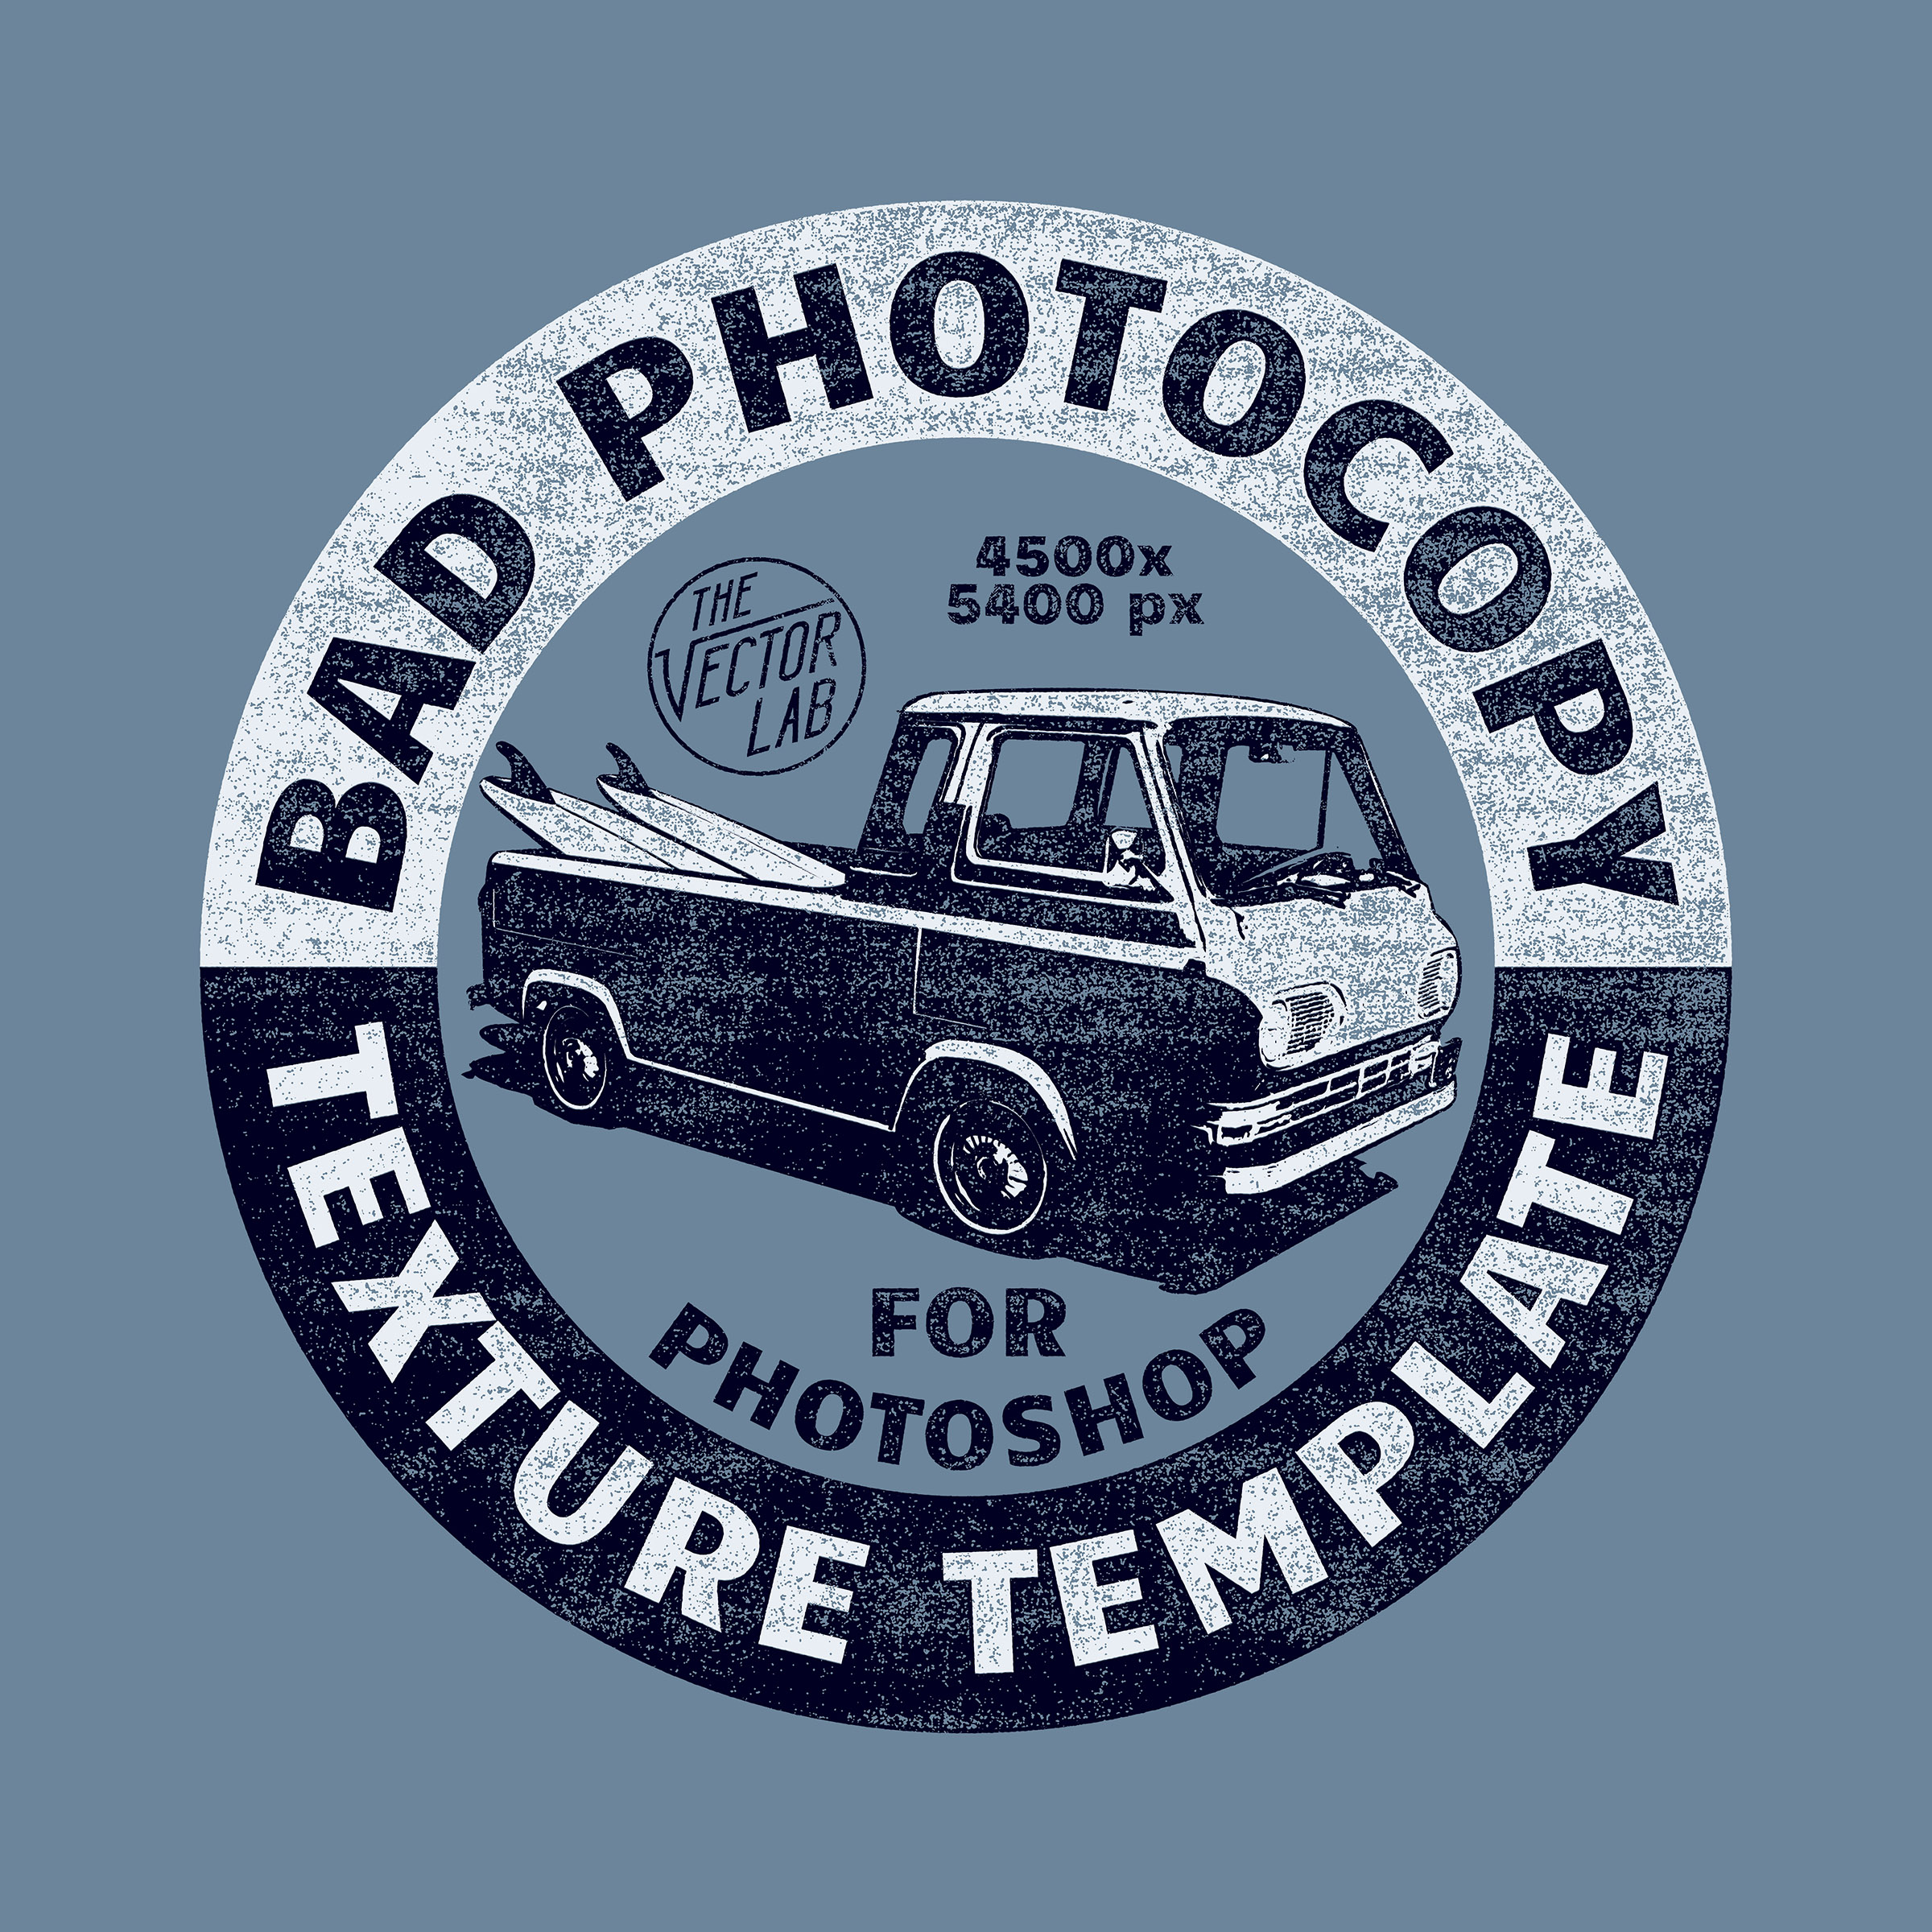
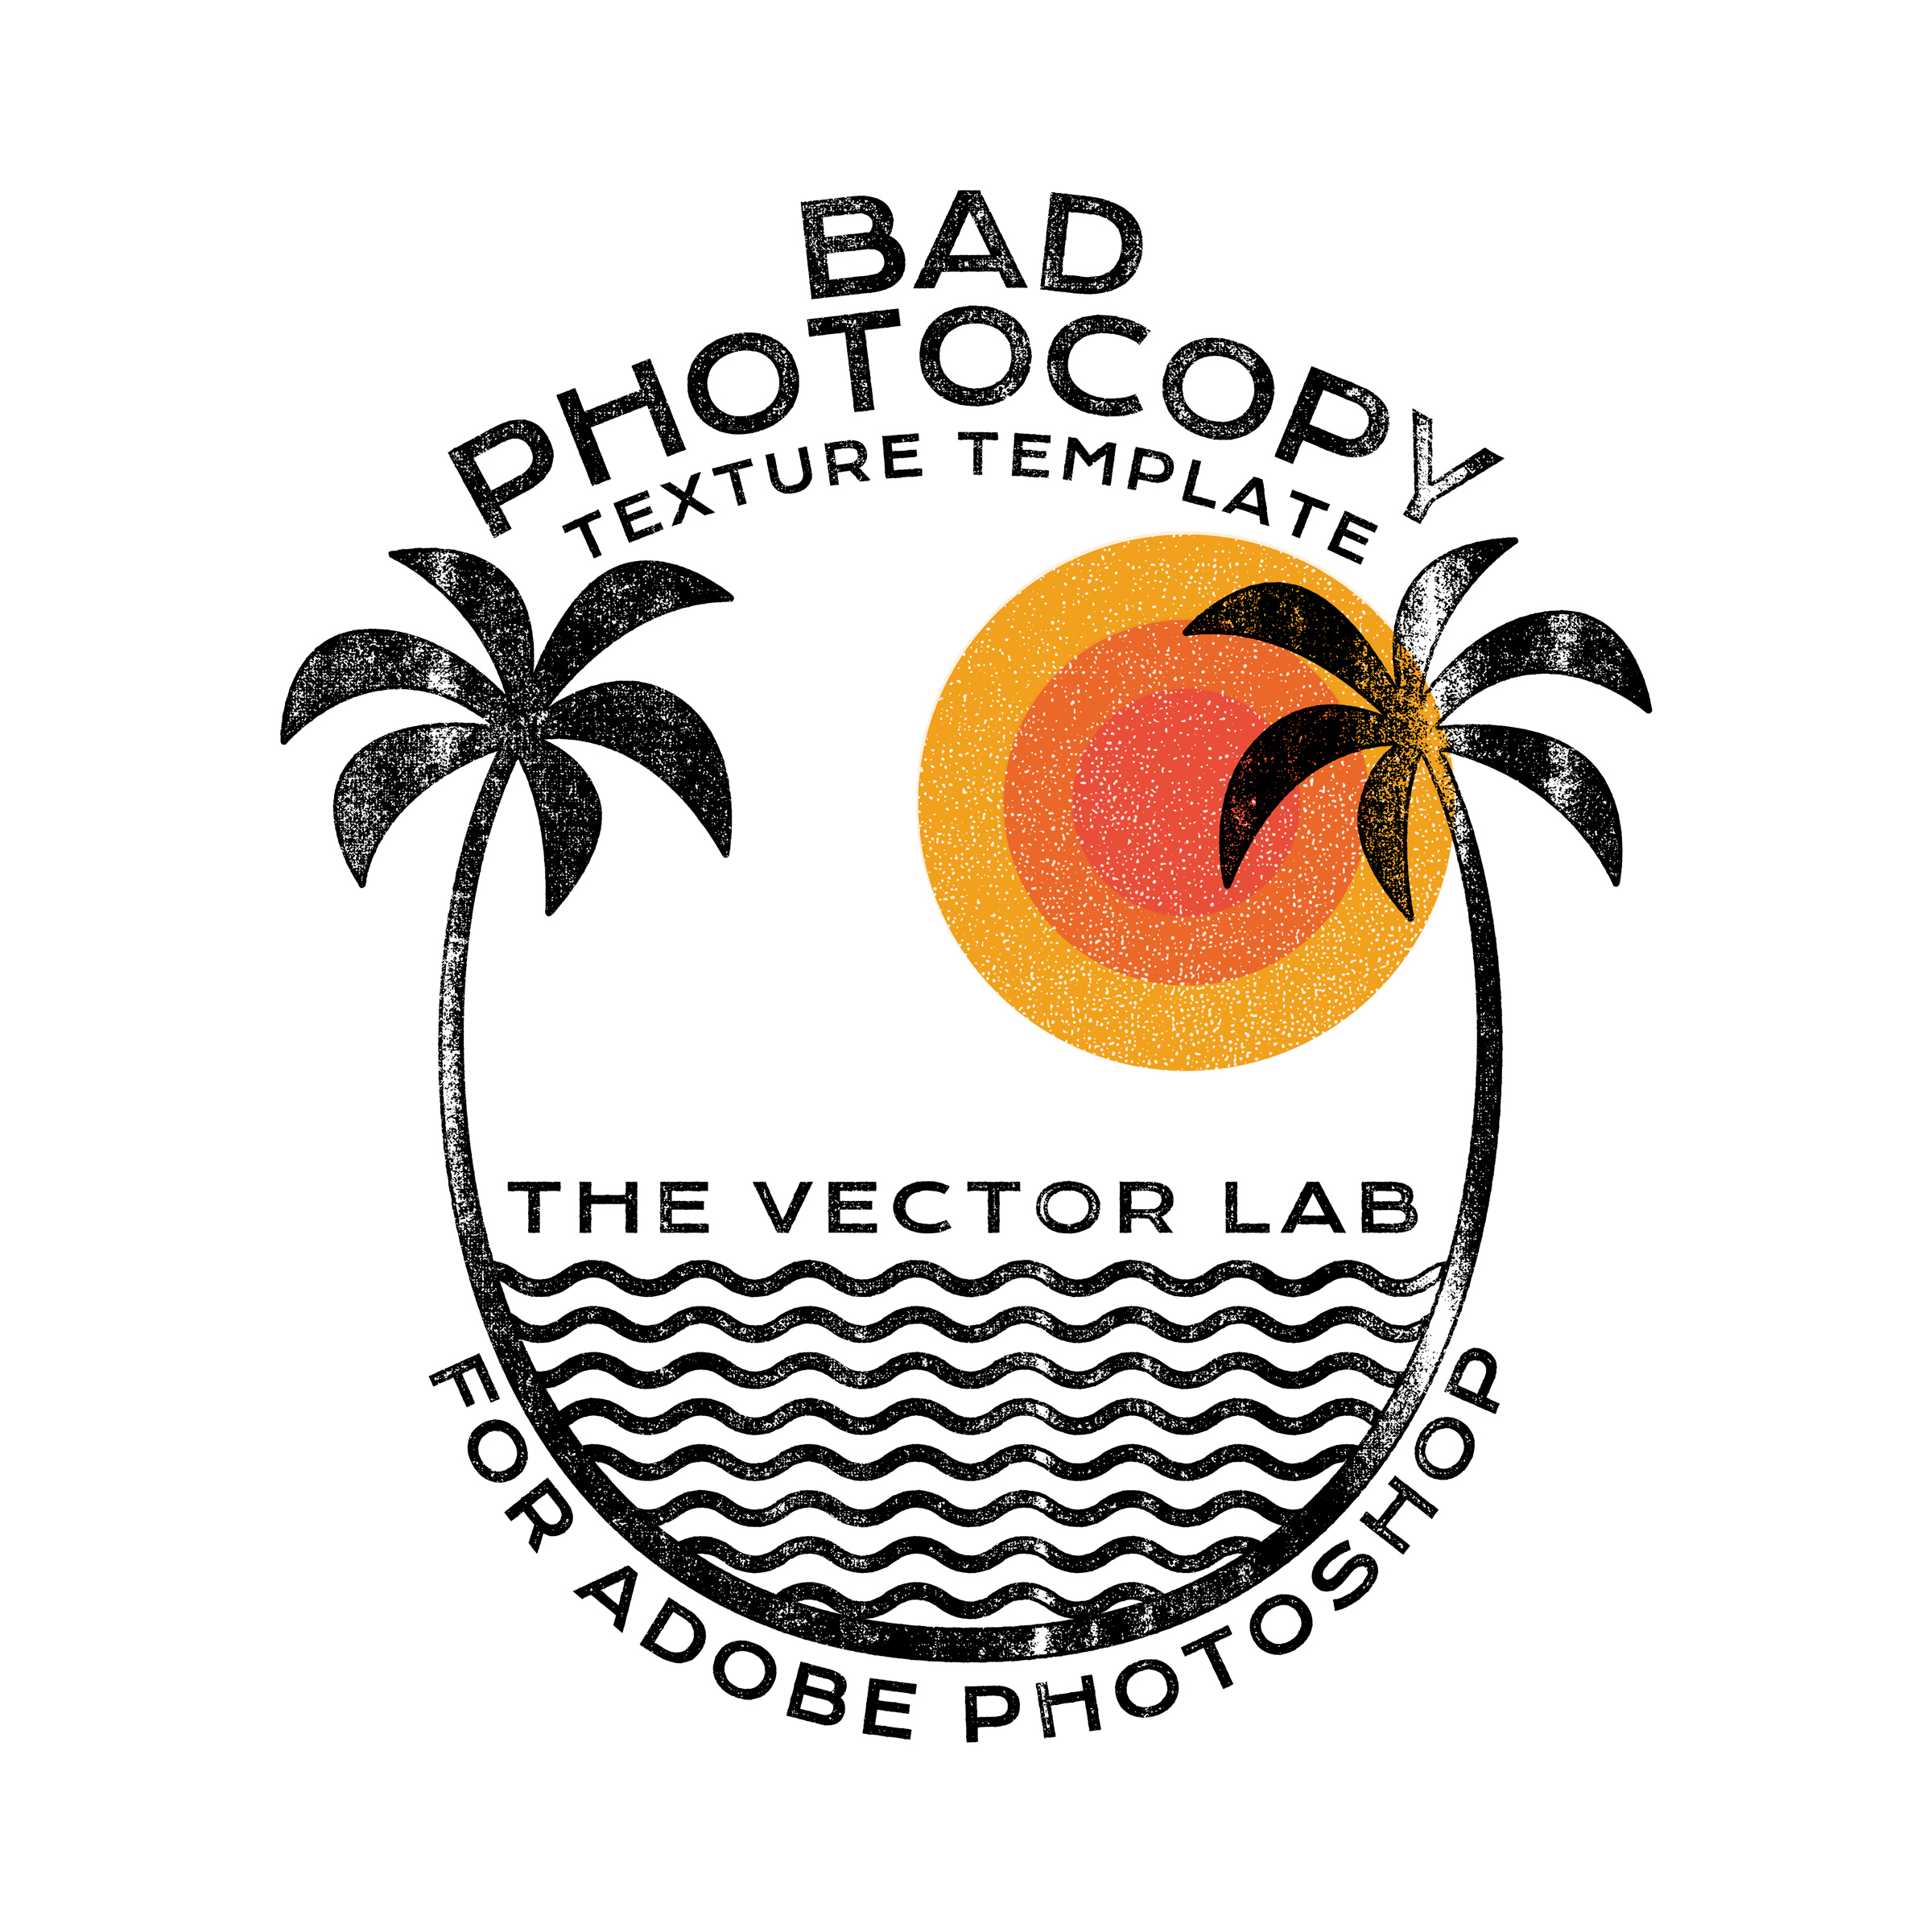
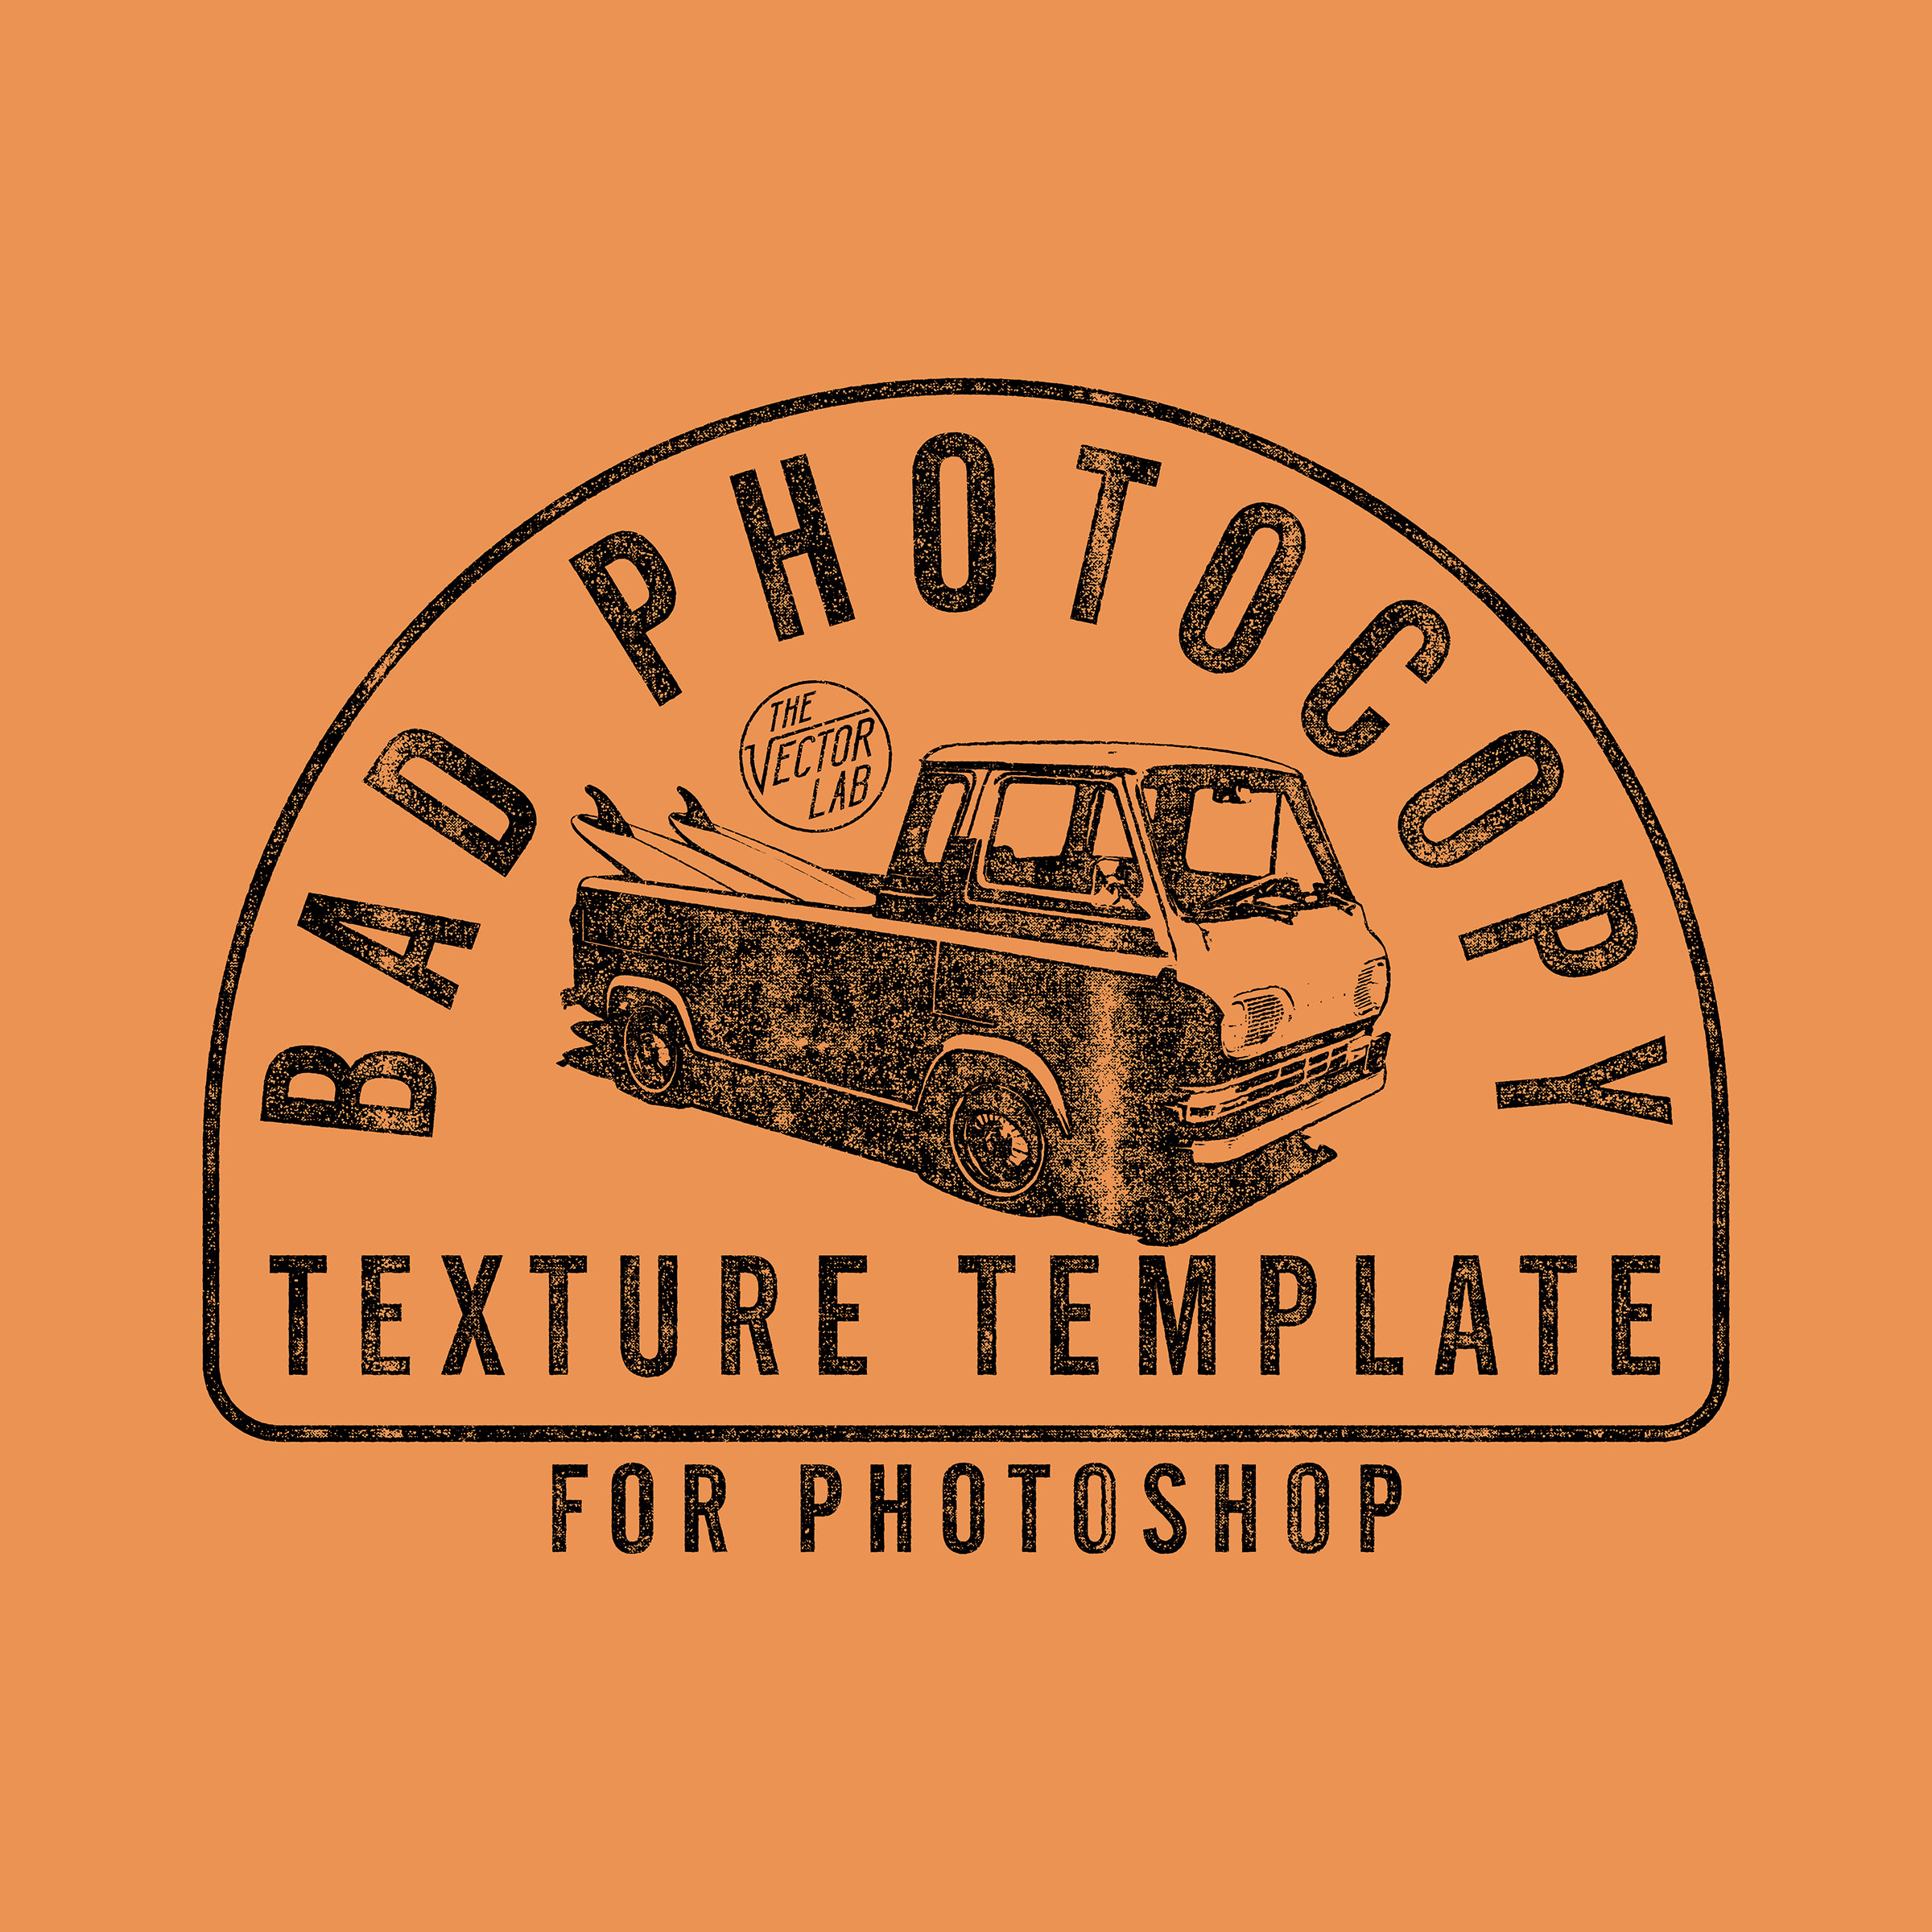
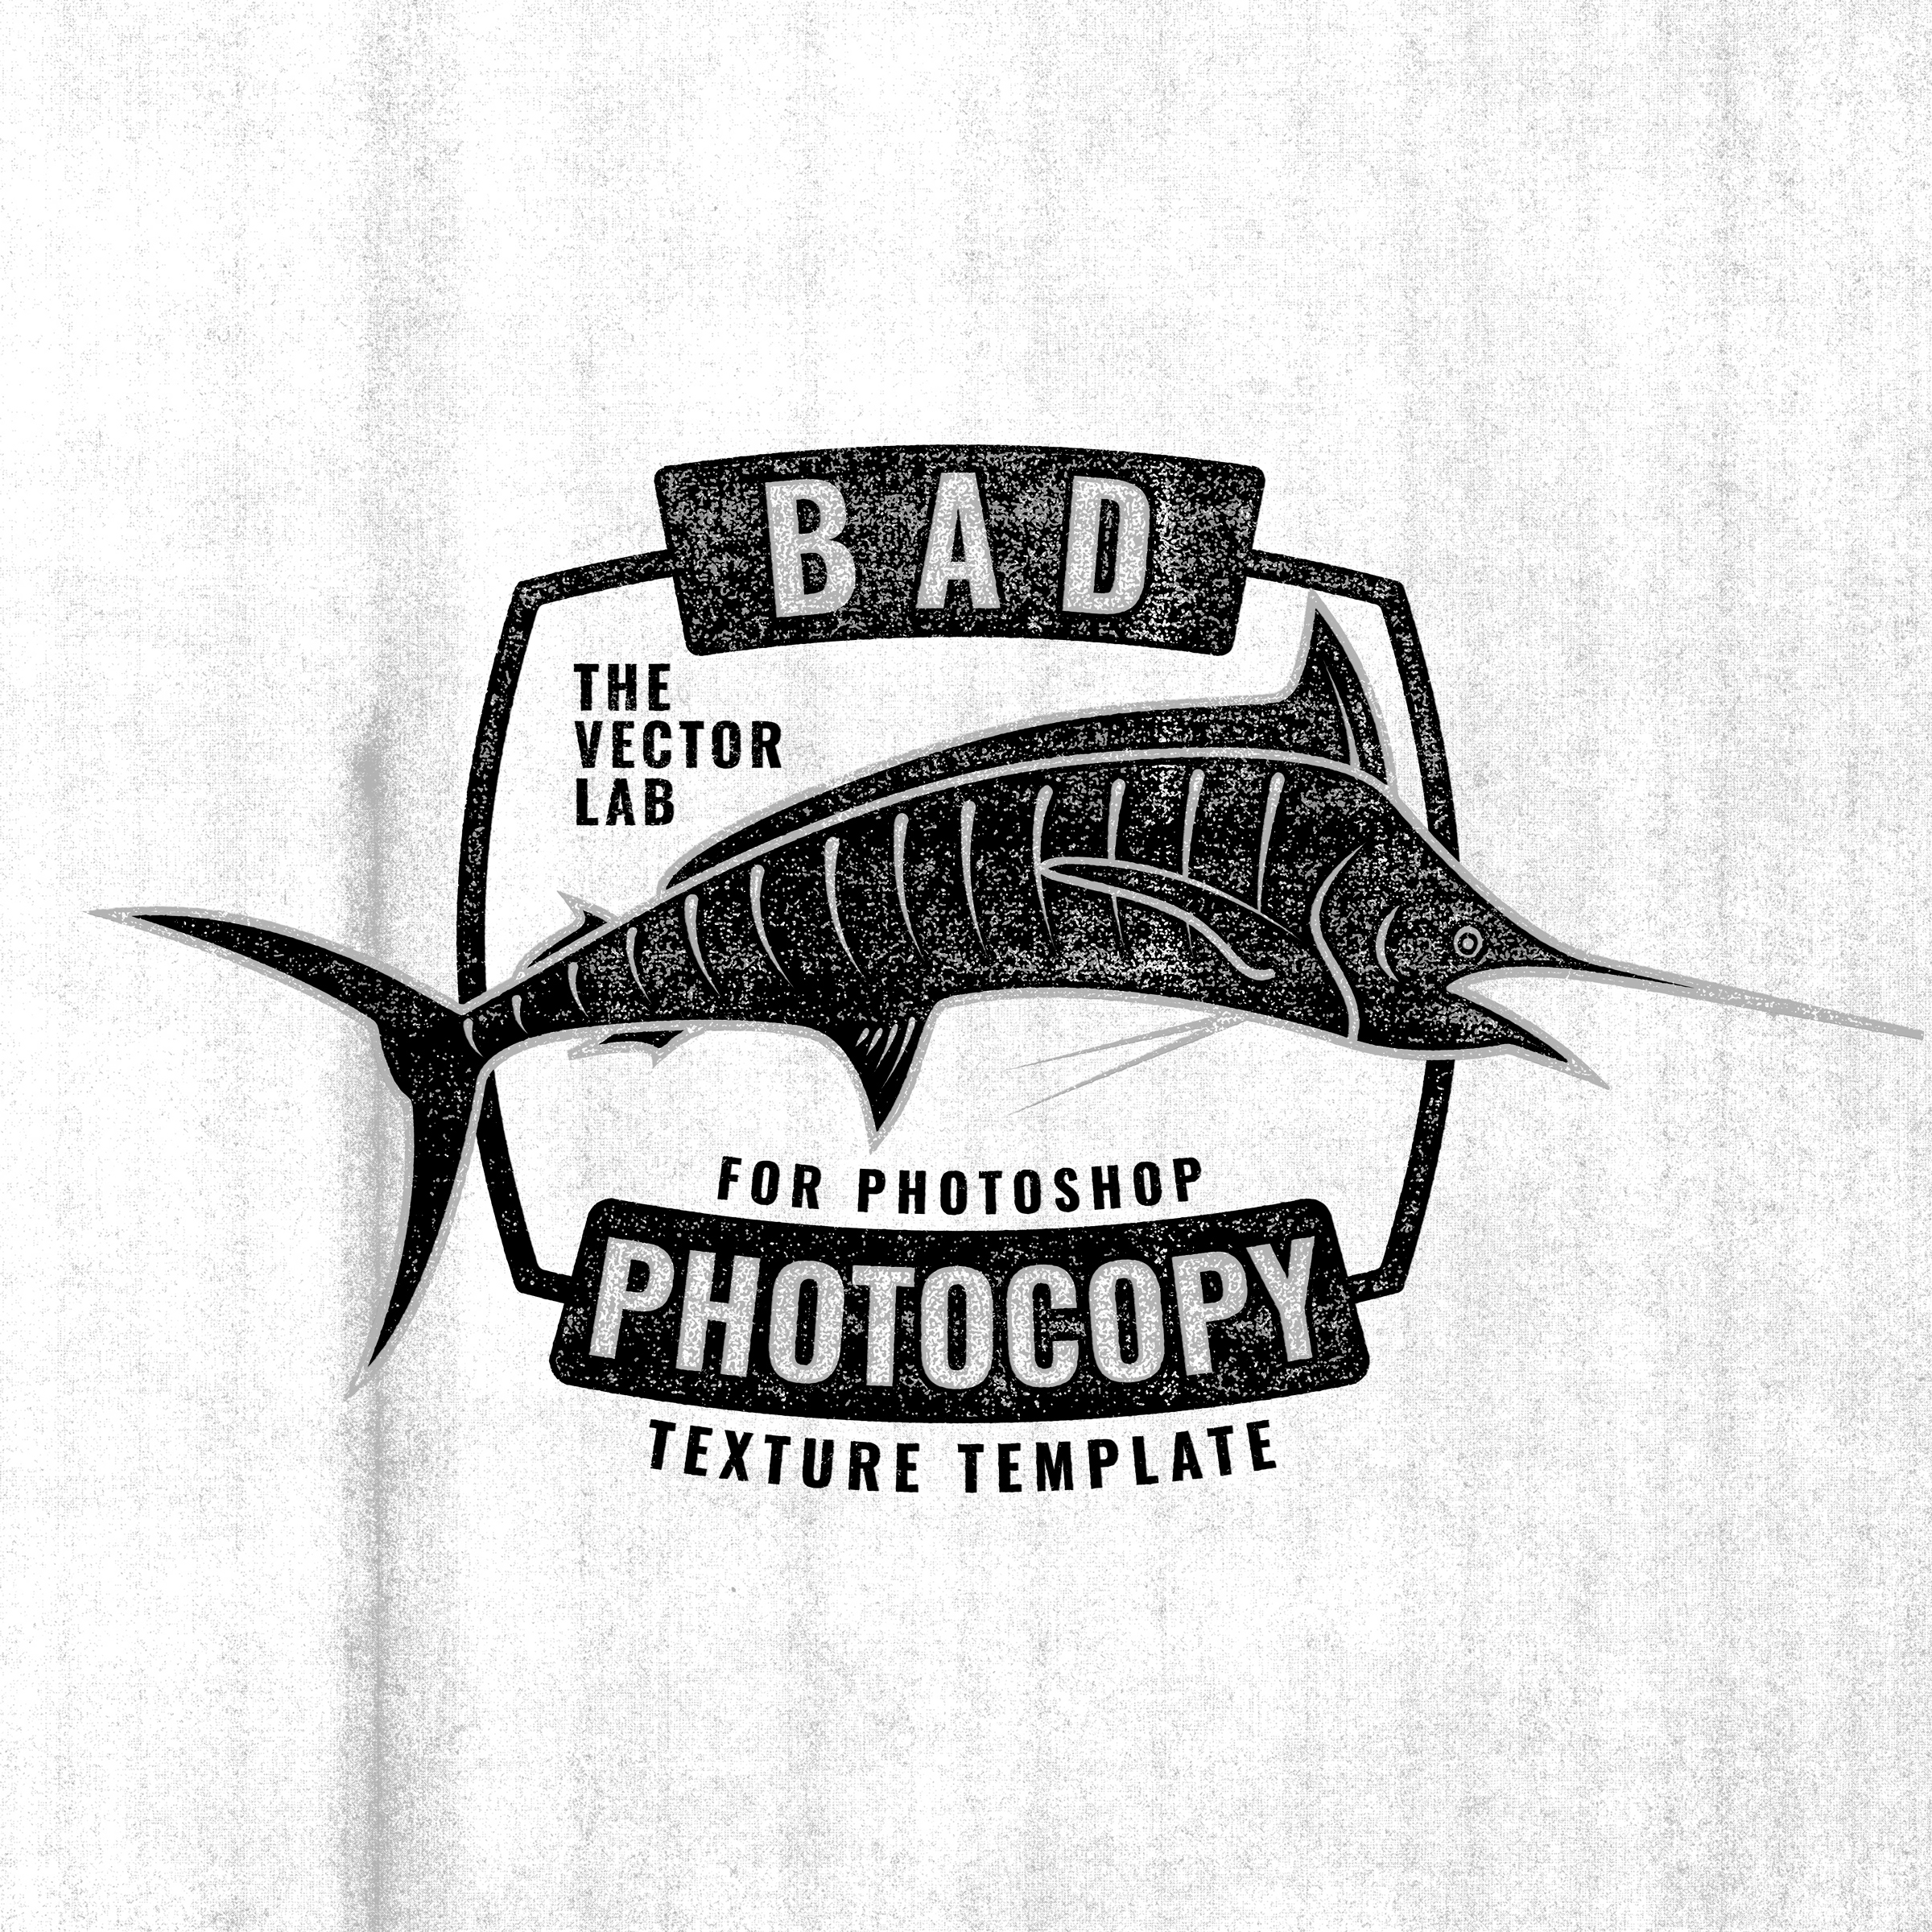
Apply Distressed Photocopy Textures to Your Designs
User Guide
Tutorial Videos
Instructions
1) Go to Window > Layers to open your Layers Panel.
2) Double click on the SMART OBJECT thumbnail to add in your art. A separate Smart Object file will open. Paste in your art (Preferably one color at a time as seen in the tutorial video). Save the Smart Object file, and go back to the main file.
3) Click the dropdown arrows to view your texture choices.
4) The Color Overlay will apply a solid color to your design. Turn the visibility off if your design has multiple colors. Double click the Color Overlay word to change the color.
5) The Stroke effect adds an outline around the edges of your design. Double click the word “Stroke” to change the stroke weight. Turn off the visibility (eyeball icon) if your design has multiple colors or if you don’t want the stroke.
6) The Ripple effect adds a subtle uneven ripple around the edges of your design. Double click the word “Ripple” to change the degree of ripple. Or you can turn off the visibility (eyeball icon) if you don’t want it.
7) Now for the fun part! Turn on and off the visibility of the various texture layers to apply knock-through texture to your design. The finer textures will work better with detailed art. The heavier textures will work better with less-detailed art.
8) There are optional background textures that you can use if you want more of a flyer/printout look. In general, you won’t need these for t-shirt designs. Turn on and off visibility of the various layers.
9) Optional background color. Double click the color thumbnail to change your background color. If you are saving your file as a transparent PNG, you can simply turn off the visibility of this layer.
Extra Tutorial Videos
These videos show an older version of the Bad Photocopy Texture Template, so the instructions may differ slightly from the current version.

