Make your graphics look as if they were printed on t-shirt fabric with optional washed & worn vintage texture.
Read MoreT-Shirt Mockup Panels - Photoshop
Make your graphics look as if they were printed on t-shirt fabric.
Read MoreMen's T-Shirt Mockup Templates - Photoshop
Mock up your men's short sleeve t-shirt designs and make them look real.
Read MoreWomen's T-Shirt Mockup Templates - Photoshop
Mock up your women's short sleeve t-shirt designs and make them look real.
Read MorePlastisol 2 Textures - Photoshop
Make your t-shirt designs look vintage with these small area “spot textures.”
Read MorePlastisol Textures - Photoshop
Make your t-shirt designs look vintage with these "cracked ink" t-shirt textures.
Read MoreOverspray Gradient Textures - Photoshop
Add spray paint textures to your designs.
Read MoreInside Out Textures - Photoshop
Simulate the look of a REVERSE PRINT without actually printing on the inside of the shirt.
Read MoreGritty Halftone Spot Textures - Photoshop
Add distressed halftone textures to your designs.
Read MoreFabric Tones Textures - Photoshop
Add a variety of fabric textures to your designs.
Read MoreEveryDay Textures - Photoshop
Add a variety of distressed textures to your designs.
Read MoreBad Photocopy Textures - Photoshop
Add distressed photocopy textures to your designs.
Read MoreAquaColour Textures - Photoshop
Add watercolor texture to logos, lettering, and backgrounds.
Read MoreAnalog Halftone Textures - Photoshop
Add distressed halftone textures to your designs.
Read MoreVintage Workwear Logo Templates - Photoshop
30 Logo Templates in Illustrator AI and Photoshop PSD format.
Read MoreVariety Logo Templates - Photoshop
9 Logo Templates in Illustrator AI and Photoshop PSD format.
Read MoreTime Machine Textures - Photoshop
Apply a variety of vintage textures in Photoshop with the PSD Automator file.
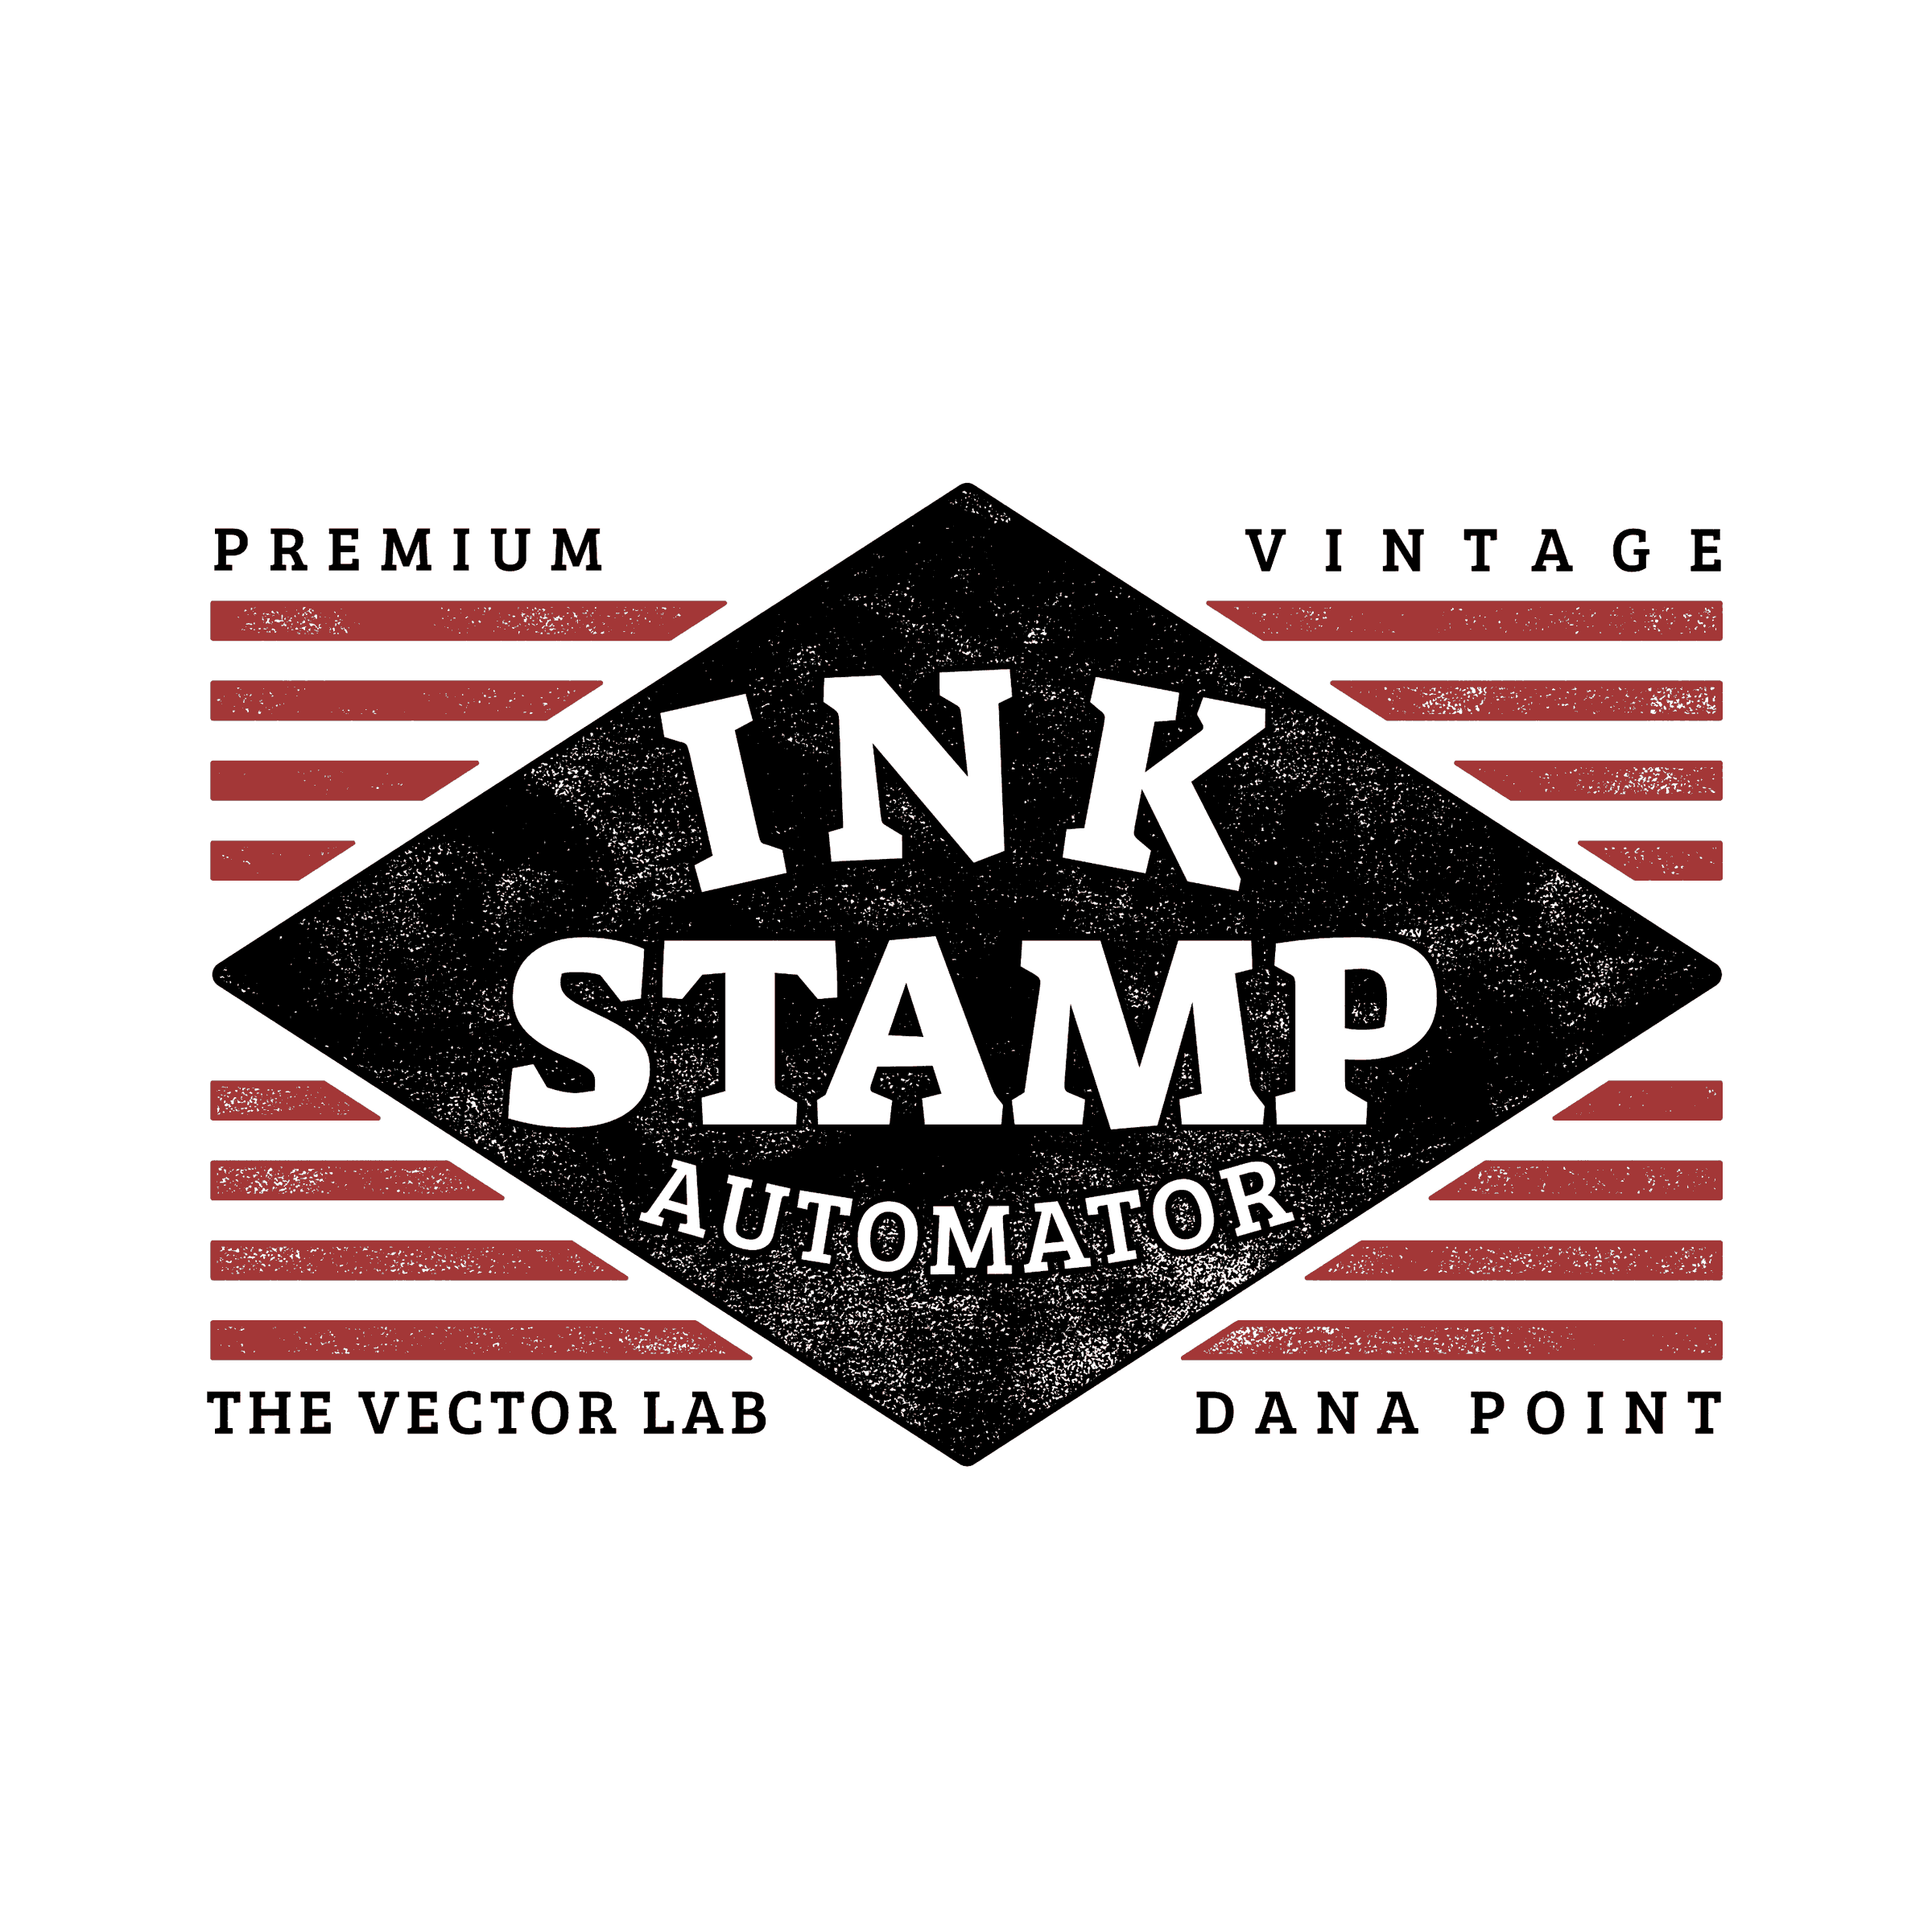
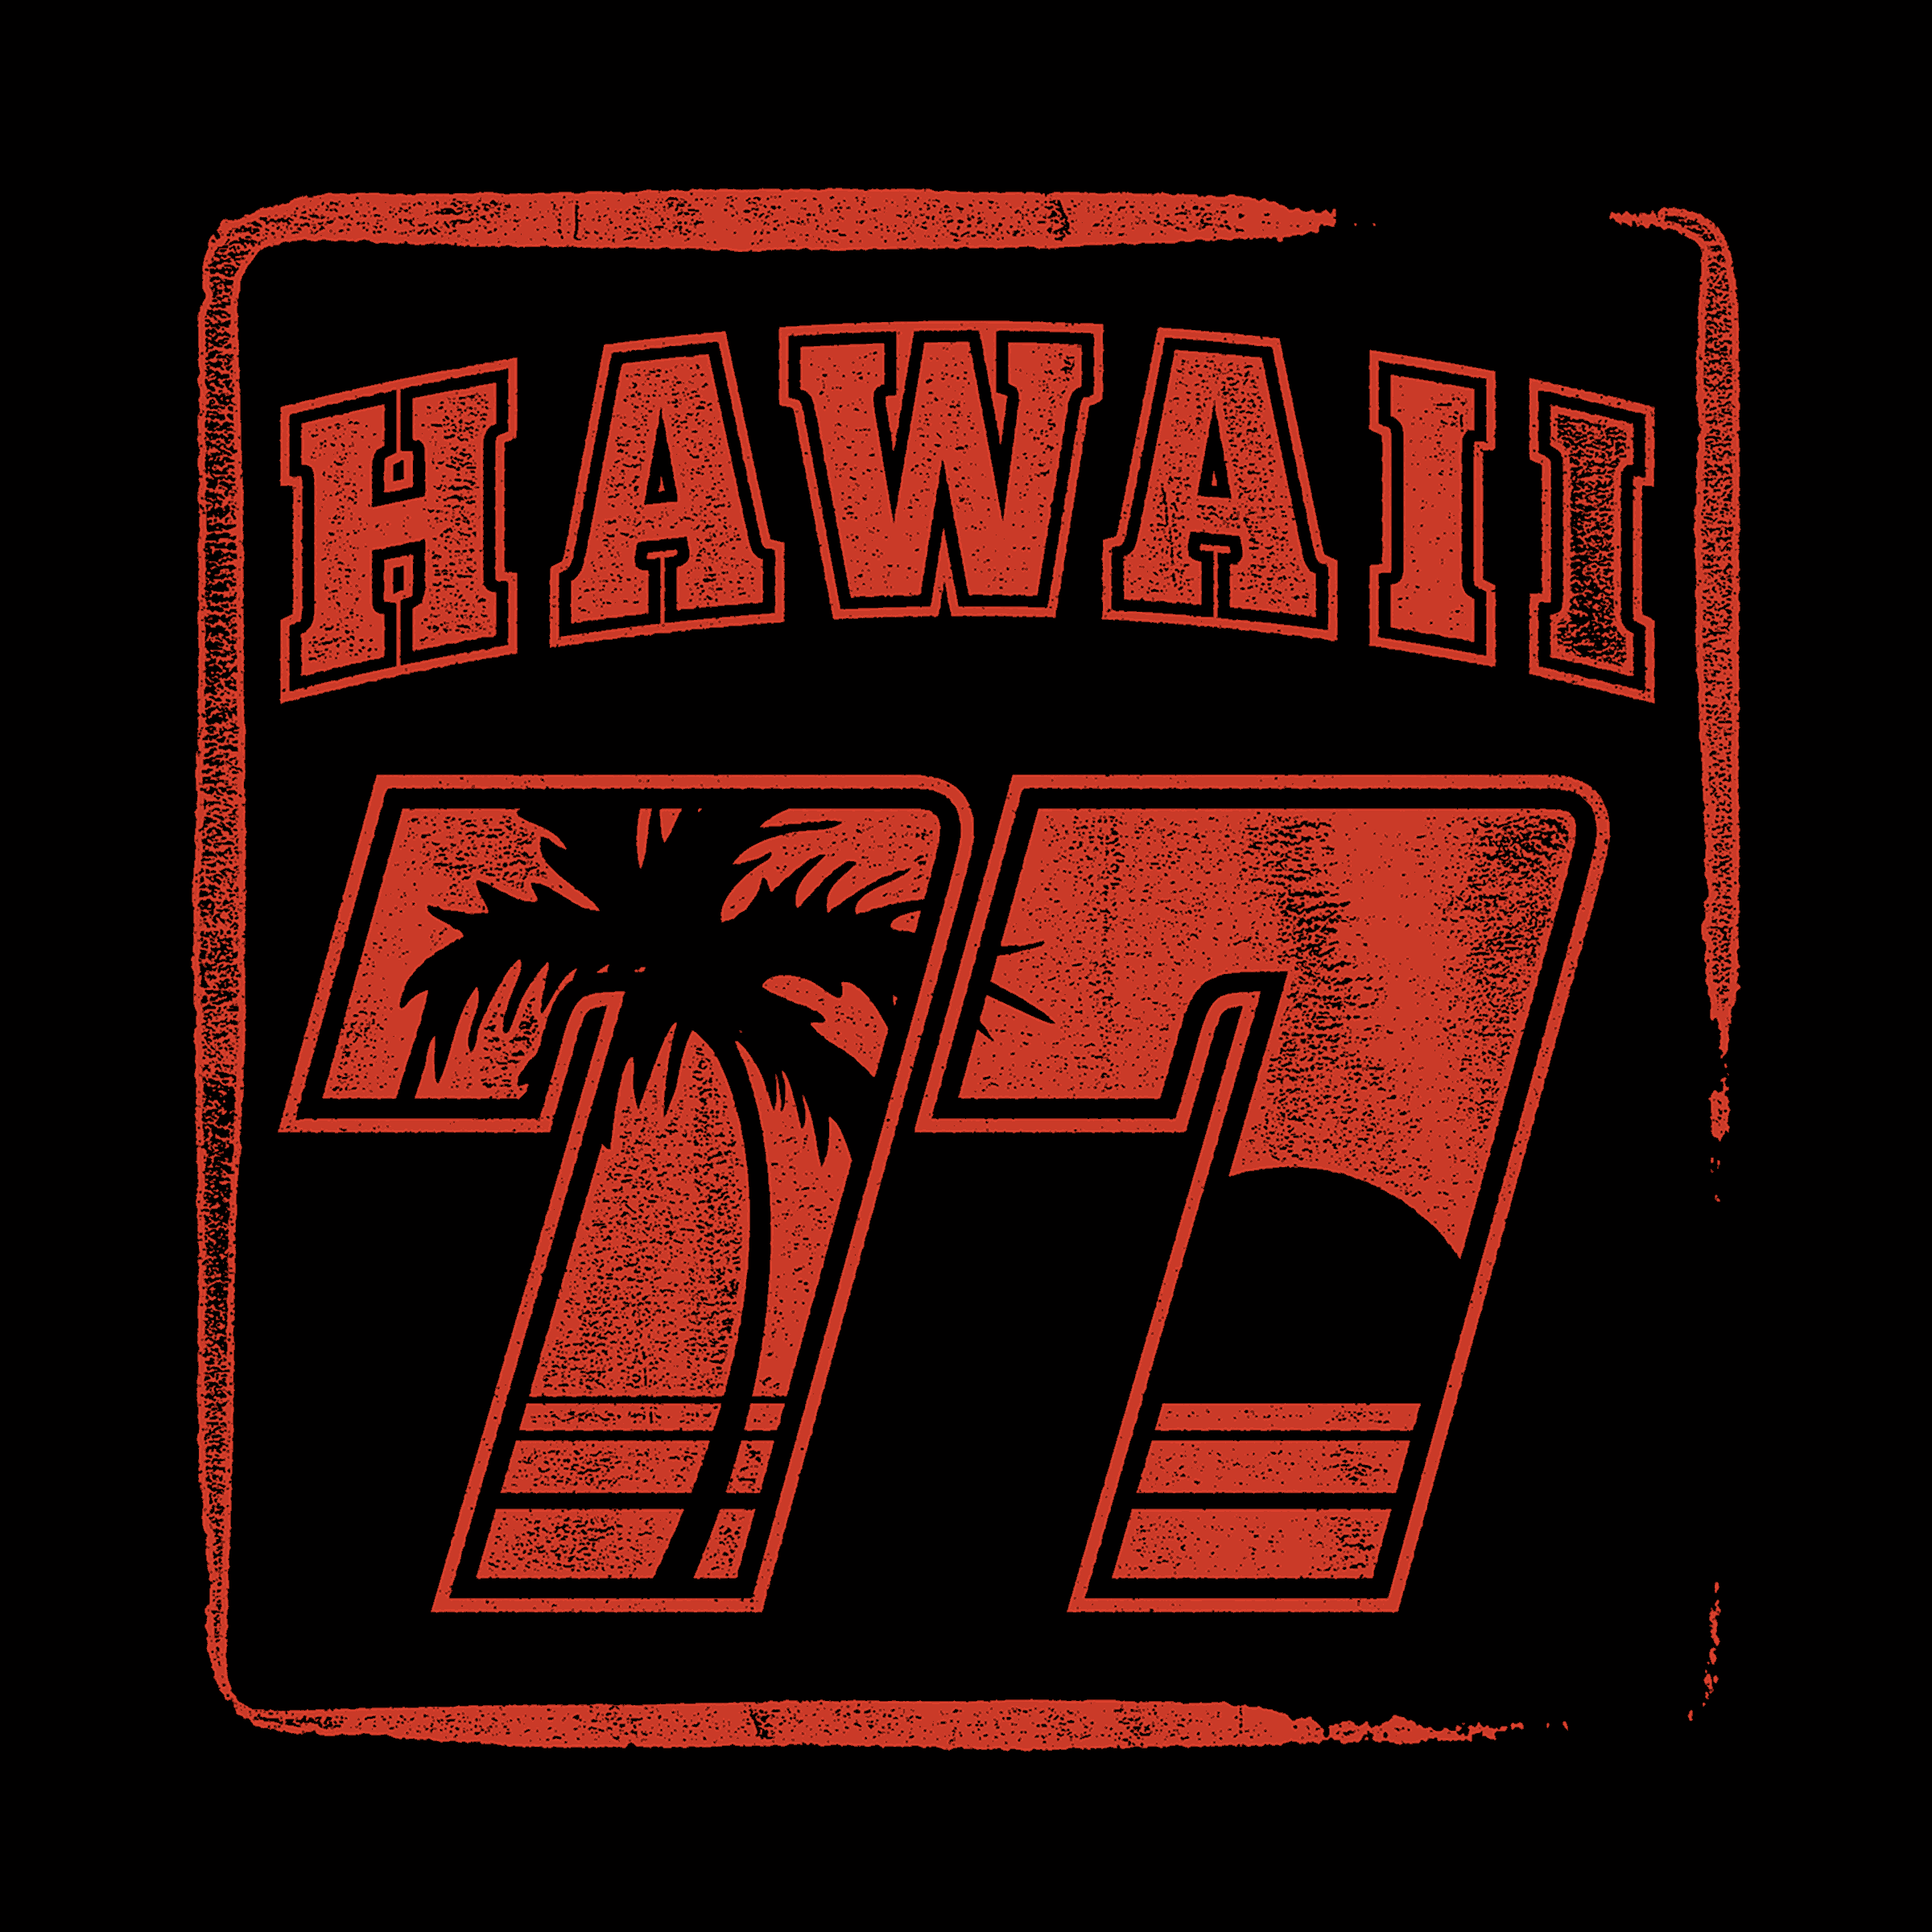
Read MoreInk Stamp Automator - Photoshop
Apply Ink Stamp Textures to Your Designs
User Guide


Tutorial Videos
Instructions
MAIN TEMPLATE
1) Open your Layers Panel. (Window > Layers)
2) Double Click on thumbnail to open Smart Object and add your art.
(OPTIONAL)
3) Double click to change outline stroke thickness
4) Double click to edit ripple effect that distorts
the edges of your art.
5) Click arrow to view texture options
6) Double click color thumbnail to choose a background color.
7) Turn off Eyeball Icon to have a transparent background.
SMART OBJECT
8) Hide this layer.
9) Paste your art anywhere into this file. For best results, your art should be black with a transparent background.
10) Save your Smart Object file. Close it. Then go back to the original Ink Stamp Automator Photoshop file.
Texture and effects will be applied to your design. You can browse the texture options inside that file to pick the best texture for your design.
(OPTIONAL)
11) Make one of the Outline Shapes visible if you want a circle, square, or rectangle shape as part of your design.
Bad Photocopy Texture Template - Photoshop
Give your designs instant photocopy texture in Photoshop with the PSD Automator file.
Read More