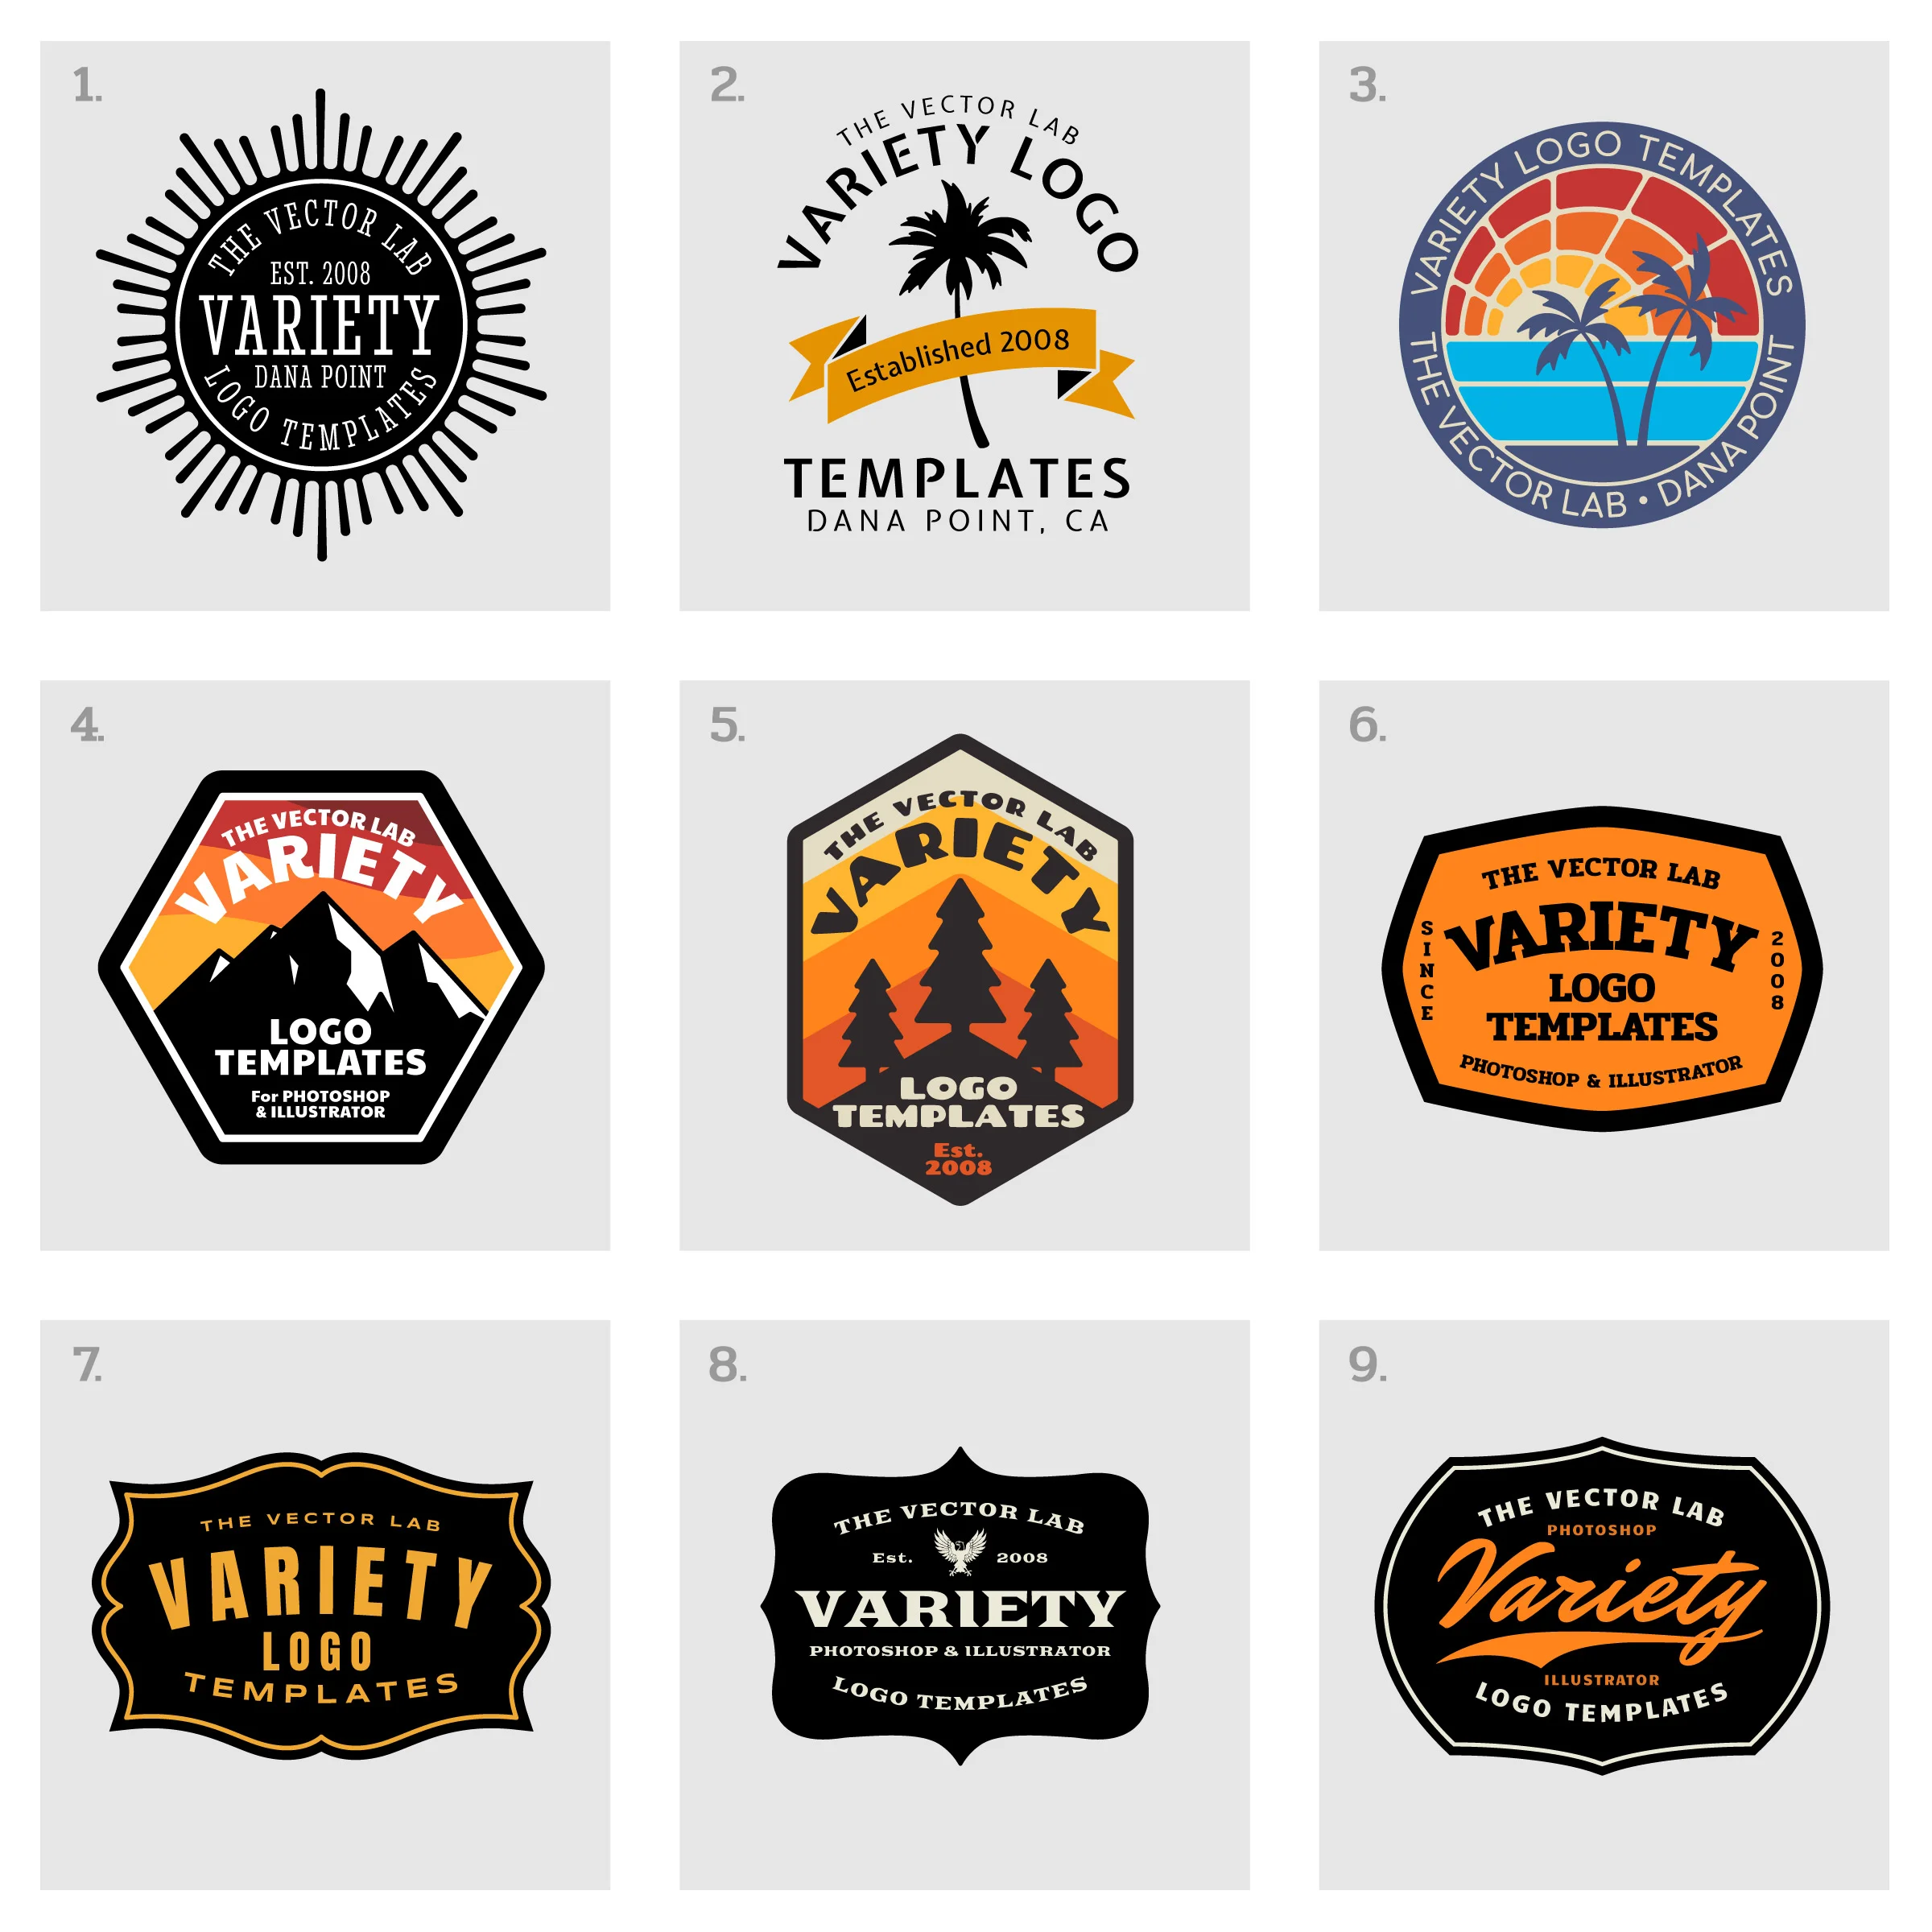
9 Editable Designs and 11 Fonts
User Guide
INSTALLING FONTS on DESKTOP MAC & PC
BEFORE opening the Logo Templates: INSTALL ALL FONTS.
*ALL FONTS ARE INCLUDED IN YOUR DOWNLOADS*
Installing the fonts will ensure that the type is properly formatted when you open the templates.
If you are using a Mac, you can just drag that Google Fonts folder into your font management software. (I use & recommend FontBook, which is a default program on every Mac). Once you do that, all the fonts will be active and you can open up the logo templates and they should be properly formatted with all the fonts.
This tutorial shows how to edit logo templates from a different bundle, called Logo Design Master Collection. But the method is the same for the templates in this bundle.
Instructions
1) BEFORE opening the Logo Templates: INSTALL ALL FONTS.
2) Open any of the PSD templates in Photoshop. (File > Open)
3) Open your Photoshop Layers Panel. (Window > Layers)
EDITING TEXT
4) Highlight any text layer in the Layers Panel.
5) Use the Type Tool to highlight and edit the text.
6) Open your Character Window (Window > Character).
7) You can change the font to anything you have installed on your computer.
8) While your text is highlighted, you change the Font Size and Tracking (letter spacing) to make your replacement text to fit on the logo shape.
9) In the Character Window, you can also change the text color.

EDITING SHAPE COLORS
10) Each non-text layer has a “Color Overlay” Layer Style that will allow you to quickly recolor the graphic parts of your logo.
11) Just double click each layer where it says “Color Overlay.”
12) A Layer Style window will pop up. Click on the color box to select a different color.
If you don’t have Variety Logo Templates yet, it can be ordered in the following collections:
